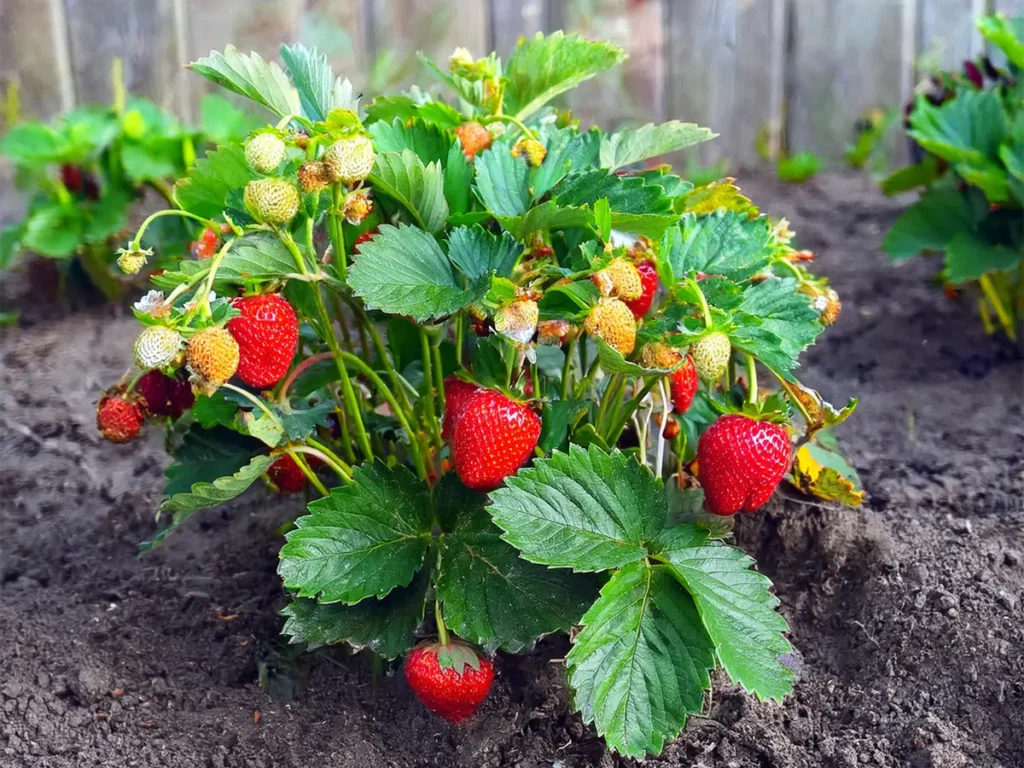
Growing Your Own Strawberries
From farmer’s fields to backyard gardens, strawberries are abundant everywhere on the South Coast. There’s good reason. Our cool summers and mild winters provide perfect conditions for Santa Barbara County’s number one cash crop.
But don’t let the fact that commercial growers produce the plump, juicy berries by the thousands dissuade you from growing your own. Standing in the garden with strawberry juice trickling down your chin and staining your fingers while popping just one more sweet, flavorful berry into your mouth is a delightful experience.
You’ll find a broader range of tasty varieties that commercial growers avoid because they’re too delicate for shipping and storage. And individual plants send out endless runners. Once your patch gets going, you may harvest fresh strawberries for life.
Choose Your Type
There are two types of traditional strawberries: short-day and day-neutral.
Short-day cultivars flower and fruit most heavily in late fall, winter and early spring, when daylight is limited. Their berries tend to be large, and include such popular varieties as Camarosa, Chandler and Sequoia. Fruiting typically tapers off as the days lengthen and temperatures warm up. However, they’ll keep producing in cool, coastal areas such as ours as long as temperatures stay below about 75°.
Given that seasonal rhythm, if you plant short-day strawberries this spring, you’re not likely to see much fruit until fall. But plant them in fall, and they’ll begin growing, flowering and fruiting right away.
In the meantime, spring is a fine time to plant day-neutral cultivars, such as Albion, Diamante, Quinalt, San Andreas and Tristar.
These berries are not sensitive to day length, so they hit the ground running. They will flower and fruit during all but the hottest days of summer. Their berries are usually a little smaller than the short-day types and tend to be softer, so not as good for preserving. But they taste delicious.
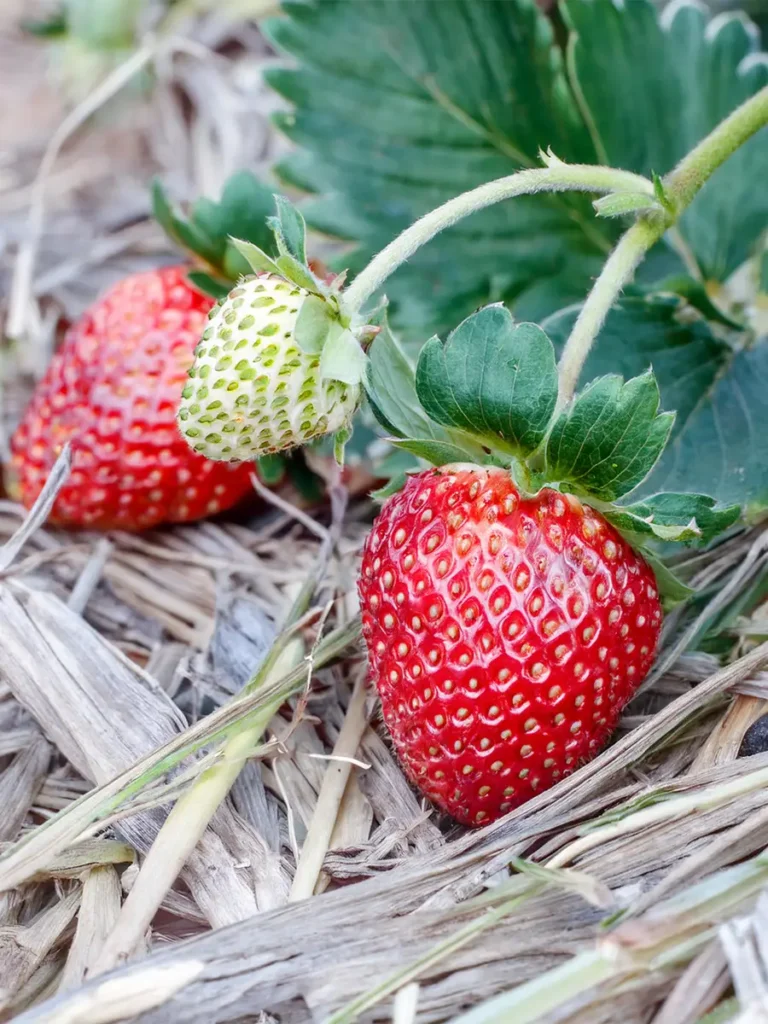
Some folks also grow alpine strawberries or fraises de bois, which make a dainty edging and bear miniature, intensely flavored fruit. These tiny tykes are native to Europe, while the ancestors of our short-day and day-neutral cultivars hail from North America and Chile.
In the Garden
View the vast strawberry fields surrounding Santa Maria and Oxnard, and it’s clear that sunshine is a strawberry’s best friend. Good drainage is paramount, too, as evidenced by the long, flat-topped berms stretching to the horizon.
At home, you can achieve the same results with a raised bed, mound or terra cotta strawberry pot. What you don’t need to mimic, though, is covering the berms with black plastic.
Commercial growers use the sheeting to smother weeds, warm the soil and keep the fruit clean. But I’d rather use a fresh covering of mulch to inhibit weeds and keep the fruit above the dirt. Granted, there’s no extra heating up of the soil. But plastic blocks water and oxygen from passing into the earth, which can harm beneficial soil microorganisms.
Also, to avoid exposing your strawberries to verticillium wilt, a serious soil-borne fungus, don’t plant where you’ve recently grown eggplant, melons, peppers, potatoes, tomatoes or raspberries.
Whatever the spot, work three to four inches of well-aged compost into the top foot of soil. Compost is key to boosting fertility. It also helps retain moisture in sandy soil and pushes apart dense soil particles to improve drainage in clay soil.
Plant your strawberries nine to 12 inches apart in a diamond pattern across the bed. Or dig a shallow trench about 18 inches wide. Shape a ridge an inch or two above the original soil height down the middle of the trench, then plant your plants in a zigzag atop the ridge.
Either way, push a narrow trowel into the soil, rock the trowel back and forth to open a crevice wide enough to comfortably accommodate a single plant, then slide in the plant, keeping the crown half an inch to an inch above the soil. Do not smush the roots into the hole. The roots should dangle directly beneath the crown.
This accomplishes two disparate goals: The crown will rot if it’s buried, yet the roots need constant moisture. If you spread out the roots like spokes in a wheel, they’ll live just beneath the surface and be susceptible to drying out. Direct the roots straight down, and they’ll be deeper before venturing out.
Soak the bed, then apply one to two inches of mulch composed of loose, organic material or straw, keeping the mulch from mounding over the crowns.
Ongoing Care
Use drip irrigation or a soaker hose for weekly irrigation, or surround the plants with a moat, then flood the area regularly.
Fertilize with a complete product (such as 10-10-10) twice a year: after the main summer crop and again before growth begins in spring. But don’t fertilize at planting time. Some folks use diluted fish emulsion instead, applying it every two weeks until flowering begins.
Slugs, sow bugs and snails adore strawberries. Sprinkle an organic control like Sluggo or hand-pick the pests.
Conventional advice says to pinch off the first flowers in spring to promote bigger plants and more prolific harvests.
I haven’t had the discipline, yet still have bountiful harvests.
After your berries decline, remove any old foliage to minimize the spread of disease. Pull out older plants whose crowns are dying. Trim the remaining plants to encourage strong new runners, which are triggered by longer days and heat.
Spread out the runners, which will take root to produce next year’s crop. Or transplant the runners after they’ve sent out a few roots to achieve better spacing, expand your planting area or share with friends.