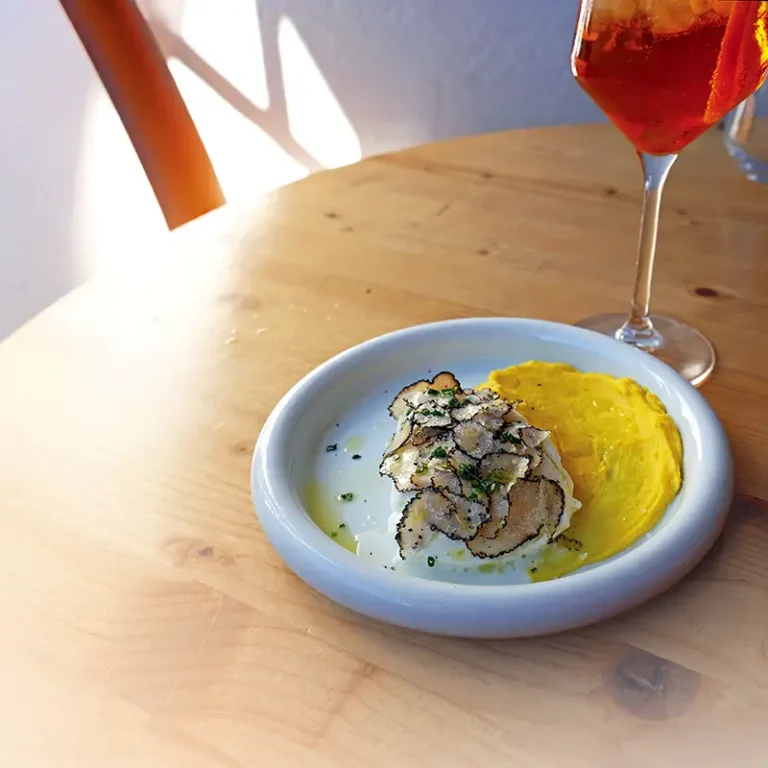
This Spud’s for You
Scratch just below the surface—which is where potatoes literally grow—and you’ll discover that the common potato is anything but common.
While russets for baking, white rose for boiling and specialty fingerlings may immediately come to mind, there are hundreds of other types of potatoes, thanks to thousands of years of cultivation and experimentation.
Grow your own, and you can soon be harvesting the edible tubers in earthy shades of blue, red, purple, gold, brown and white, and with all sorts of different textures, tastes, sizes and shapes.
Getting Growing
Potatoes are native to the Andes, where ancestors of the Incas first grew the calorie-rich vegetable 4,000 to 6,000 years ago in loose, volcanic soil.
Over the past several centuries, potatoes have been cultivated throughout the rest of the world in many other types of soil. But regardless of the region, potatoes must have a loose, fall-through-your-fingers medium, with sandy loam here on the Central Coast being ideal.
They also need full sun and an ongoing supply of water.
Plant potatoes now for a spring harvest. Plant them again late next spring, to add substance to your diet during next October’s Eat Local Challenge. Or plant them any time of year for a fresh crop in four months.
In the Garden
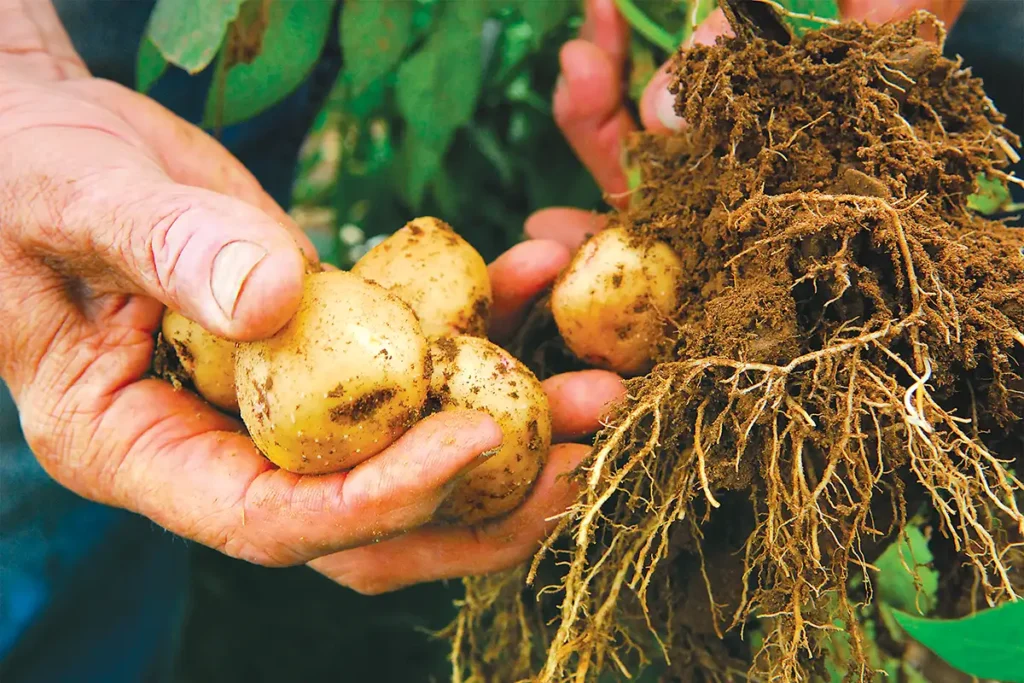
You’ll plant seed potatoes, which aren’t really seeds. Instead, they’re chunks of potato with an eye or two.
Just like for asparagus, you’ll dig a trench, then add soil as the plants grow.
In the case of potatoes, that’s because the new tubers form in the space between the seed potatoes and the surface. If your seed potatoes are too shallow, there won’t be much room.
Also remember that anything other than extremely loose soil is the kiss of death. My first time, I dug foot-wide, foot-deep holes in my clay soil, then amended heavily. The plants grew beautifully. But by harvest time, the surrounding, heavier clay had collapsed into the holes. When I tried to unearth my potatoes, they broke into disappointing bits.
Lesson learned. I now plant in the loosest of raised beds.
To get started, dig a 10- to 12-inch-deep trench. Line the trench with gopher wire. Cover the wire with 2 inches of soil. Cut any seed potatoes bigger than a golf ball into pieces. Space the chunks 1 foot apart, eyes up. Cover with another 2 inches of soil, then thoroughly soak the bed.
Keep the soil moist. Look for the first leaves in two weeks. Once the plants reach a foot tall, begin to layer loose soil, compost, straw or fine-textured mulch around them, leaving the top 4 to 6 inches of each plant exposed.
Gradually fill the trench, chasing the plants’ growth, but never covering the tops of the plants. Once you’ve reached the original grade, you can keep “hilling” in order to provide an even deeper layer for the new tubers to form.
Other Tactics
If raised beds aren’t an option, try growing potatoes on top of your existing soil. Break up the surface first. Set in place an inverted tomato cage lined with a plastic garbage bag to corral the planting medium. Punch holes in the bag for drainage, then fill the cage with 4 to 6 inches of a mix of loose soil, compost and/or straw. Space three or four seed potatoes as far apart as possible. Cover them with another 2 inches of material, then carry on.
Buckets, tubs and other containers work just as well, provided they’re at least 18 inches deep and have drainage holes.
Care & Harvest
Continue to water, keeping the planting medium evenly moist. If you must fertilize, foliar feed with a mild solution of fish emulsion or seaweed fertilizer only up to the time of flowering.
Those flowers herald the harvest of your first “new potatoes.” The small, choice spuds offer a tender taste of what’s to come. Brush back the soil to unearth a few newbies from each plant, then let the remaining tubers mature.
Three to four months after planting, the leaves will begin to yellow and die back. Stop watering. Two weeks after the foliage has collapsed, carefully dig out the potatoes by hand. While you could harvest your entire crop at once, I dig out only as many as I expect to use within a week or so, returning time and again to gather the remaining tubers.
Although the experts strongly advise against it, if you don’t collect all of your crop, the remnants are likely to go dormant for a month or two, then re-sprout and start the cycle again.
Optimal storage is at 40° in a dark place with 80% to 90% humidity. Keep in mind that the potatoes are still alive. Do not keep them in your refrigerator, where the dry air will dehydrate them. Freezing causes their starch to convert to sugar and ruins them. Exposure to light will prompt them to produce solanine and turn green, rendering them inedible.
Sourcing Seed Potatoes
Most of us surely recall the grade-school science project of jabbing toothpicks into a potato, suspending it over a jar of water and watching it magically sprout. These days, only organic potatoes may cooperate. Non-organic ones are typically sprayed with a growth inhibitor.
Indeed, organic potatoes that I’ve left too long in a cupboard are my go-to source for seed potatoes.
However, there’s no guarantee that my store-bought potatoes are virus free. And that’s where the Irish ran into trouble during the Great Potato Famine. Potato blight, a fungal disease, devastated three consecutive years of crops. More than one million people died of starvation and another million left the country.
To be absolutely sure that you won’t infect your own garden soil, seek virus-indexed certified seed potatoes.
While seed potatoes are most commonly available in the spring, some mail-order companies do ship to California during fall and winter. Those late-season seed potatoes may have been freshly picked, so may be heading into their natural month-or-two dormancy. To break the cycle, place the seed potatoes in a paper bag with several apples, bananas or onions, all of which release ethylene gas, which jump-starts sprouting.
To keep your soil clean, also rotate your potatoes. I generally grow two, maybe three, rounds in a raised bed, then shift to something else for a couple of years. Potatoes belong to the nightshade (Solanaceae) family. Do not precede or follow them with any other family members, including eggplant, peppers, tomatoes or tomatillos.
Right now, I’m giving my most recent potato bed a break by growing vibrant orange zinnias and Mexican sunflowers (Tithonia rotundifolia). Aside from being pretty, both entice butterflies and bees to visit my garden.