Compost Tea: Home Brew for the Garden
Compost is a well-known and powerful force in the garden. The decaying matter releases nutrients and encourages soil microorganisms to flourish. Some of those tiny critters burrow hither and yon, improving the tilth of the soil. Others attach themselves to roots, helping plants more efficiently absorb nutrients and moisture.
However, making enough compost to fill a garden can be slow going. Without a large yard and multi-bin setup, it’s difficult for most gardeners to generate sufficient material to stock more than a few beds.
Of course you could buy compost to supplement whatever you produce.
Or you could stretch your homegrown supply substantially by brewing compost tea, which is a super concentration of all the beneficial microbes—bacteria, fungi and protozoa—that live in compost. Applying compost tea to soil and foliage in the garden will bulk up populations of the good guys and boost the vitality of your plants.
The Basics
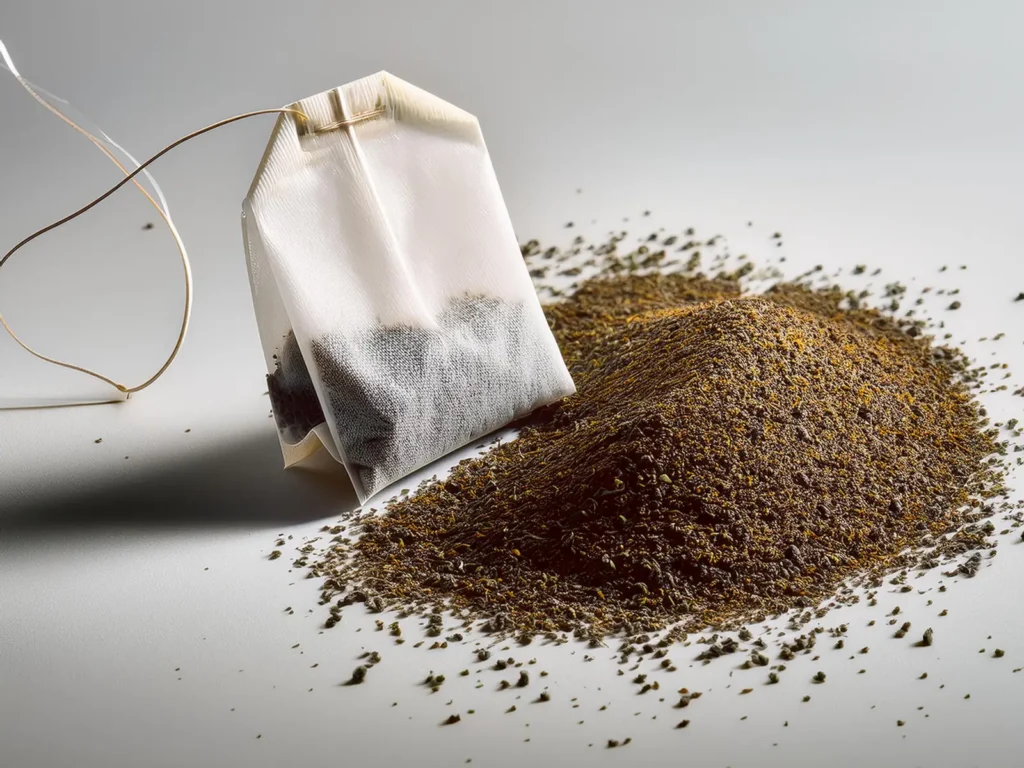
The mechanics of brewing an ordinary cup of tea are simple—crumbled leaves are steeped in hot water, or in a capped glass jar outside in the sun.
Compost tea is brewed in water, too, although the process is more complicated.
The quick version is that you’ll dunk some compost in water; add an inoculant; infuse oxygen into the mix to prompt those microscopic organisms that have been at work decomposing your garden and kitchen waste to multiply quickly; then spread the wealth in the garden.
Step-By-Step
Compost tea kits abound on the internet, with prices ranging from less than a hundred dollars to several hundred. Components are also available at hardware stores, landscape supply houses and home improvement centers.
However you procure the pieces, a good starter setup includes a five-gallon food-grade bucket, an air pump, tubing, at least two air stones (one small and one large), a mesh bag, compost, an inoculant and vegetable oil.
Start by connecting the pump, tubing and air stones.
Fill the bucket with 3½ to 4 gallons of water. Unless you use purified water, dissipate any chlorine by placing the air stones in the bucket and running the pump for a few hours. Or let the water in the bucket sit for a few days.
Fill the mesh bag (a paint strainer bag works well) with 1 to 2 cups of compost.
Put the small air stone in the mesh bag and the large air stone in the bucket.
Suspend the bag in the bucket, add the inoculant and a splash of vegetable oil, then turn on the pump.
After about 8 hours, remove the mesh bag, toss the soggy compost into your garden and place the small air stone back in the bucket.
Continue running the pump for a total of 24 to 36 hours.
How It Works
The purpose of the air pump is twofold. It agitates the water to help the microbes bust loose of the compost; and it aerates the water to support rapid reproduction of the microbes, which require increasing quantities of oxygen to survive. Your pump must be powerful enough to truly agitate the water. The surface should look like it’s boiling.
Air stones—traditionally used in aquariums—assist the air pump by generating zillions of bubbles that diffuse oxygen into the water. Putting the small air stone in the mesh bag at the outset provides extra force to jostle free the microbes. By about eight hours, that job is done.
There are different schools of thought on what type of compost to use, depending on the plants you’re treating.
A heartier bacterial component is said to be best for food crops, while a stronger fungal component may be better for woody plants and natives. Experts have all sorts of specialty recipes. But for new brewers, the best compost is one created from as many sources as possible, such as a combination of yard waste, kitchen waste and earthworm castings, rather than a single source, such as mushrooms. That way you’ll start with a broad diversity of microbes, rather than a few.
Opinions also abound on inoculants, which are what the burgeoning masses of microbes feed on. Something sugary, such as a tablespoon of molasses (that does not contain sulfur) will stimulate the bacteria. Pulverized oat and wheat bran have been found to stimulate fungi. Hydrolyzed or cold-pressed fish, seaweed extract and humic acid are other popular choices.
A few drops of vegetable oil will reduce sudsing at the start. The scummy foam that forms later on is fine.
Note: Avoid honey and olive oil, both of which are anti-microbial.
Let the tea bubble and brew for at least 18 hours—24 to 36 hours is even better, yielding optimal populations. Check the brew occasionally to make sure that the liquid continues to “boil.” If the microbes don’t get enough oxygen they can turn anaerobic, which will spoil the batch.
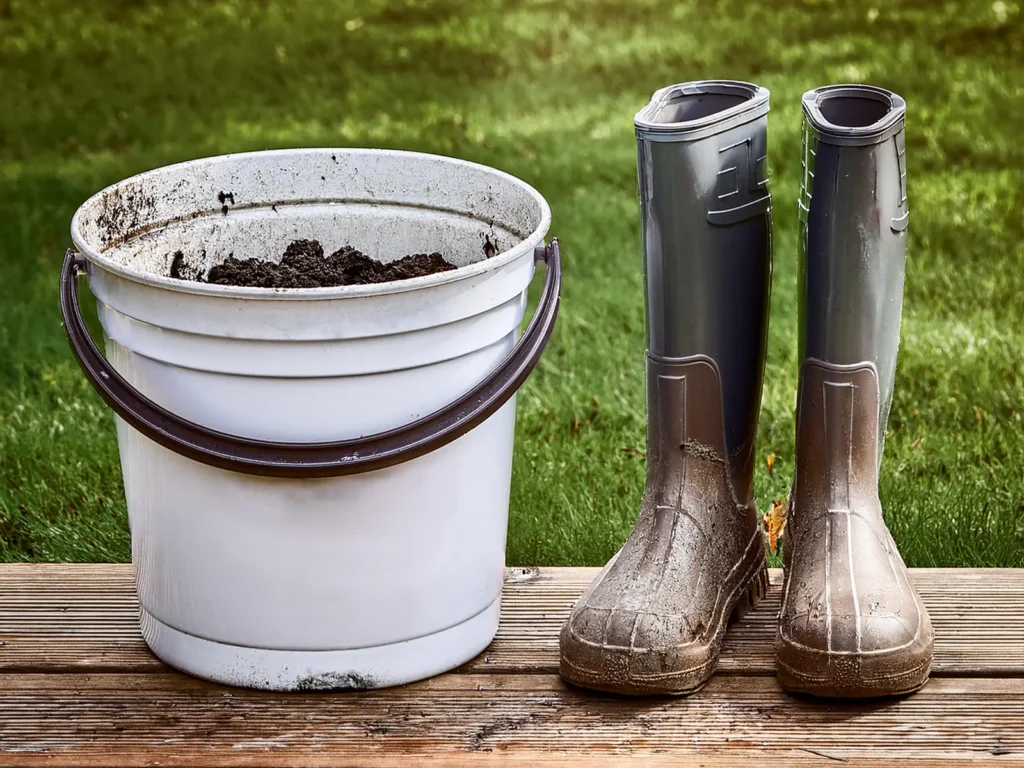
In the Garden
It’s important to use compost tea within a few hours: Once the pump—and with it, the oxygen supply—stop, the microbes begin to die. Be sure to have thoroughly irrigated the target plants first. If you pour compost tea on a bone-dry bed, the solution may not move through the soil properly. Dry foliage doesn’t respond as well, either.
Dilute the tea with five parts water to one part tea. Drenching the ground around each plant will improve the soil structure as armies of microbes chew and poop their way through their new home. Other microbes will glom onto roots to improve the plants’ ability to more readily take up nutrients and water, leading to healthier growth and increased productivity. Spraying the foliage serves as a natural fungicide and helps protect against insect damage.
Finish by disinfecting the air stones, tubing and bucket with full-strength hydrogen peroxide, which will break down completely by the time you’re ready to brew your next batch.